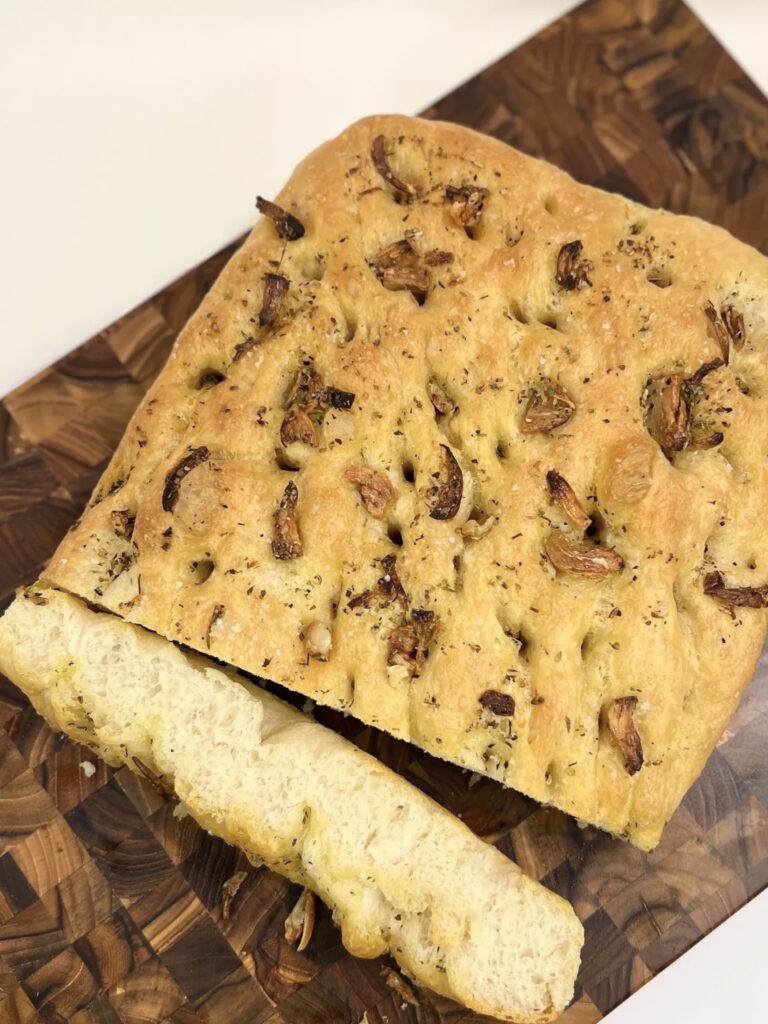
Learn how to make this extremely easy same day garlic and herb focaccia by following the directions below. I have included step by step pictures to help walk you through it. I really recommend measuring by weight and not volume. I’ve provided both measurements, but weight is by far more dependable.
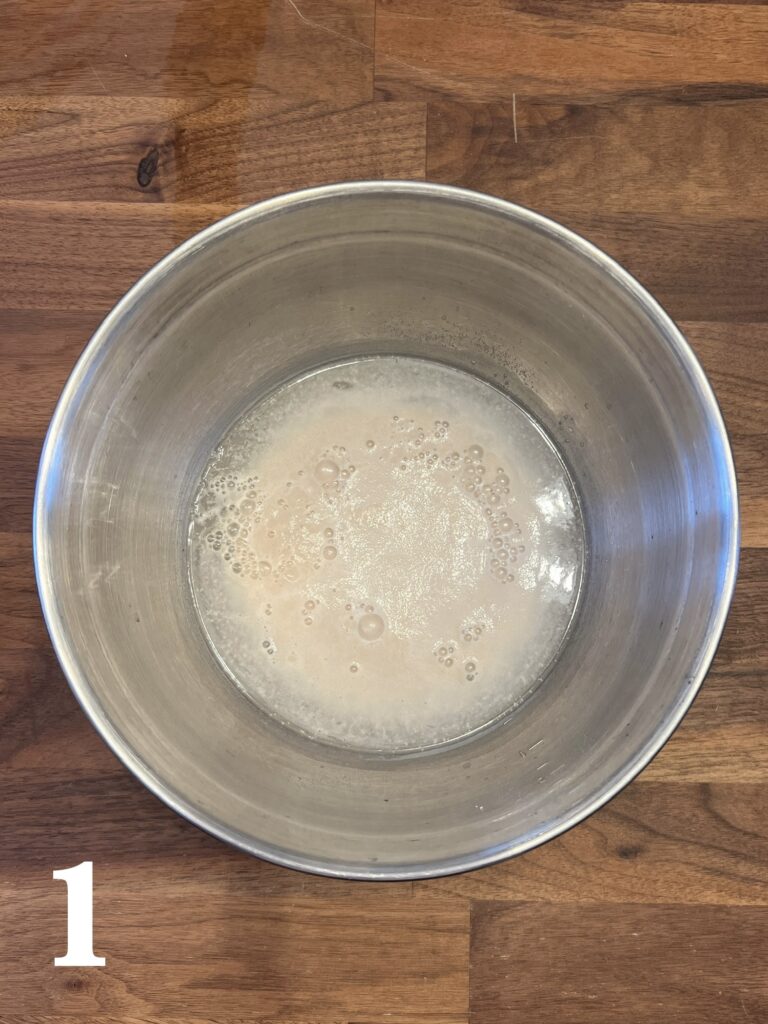
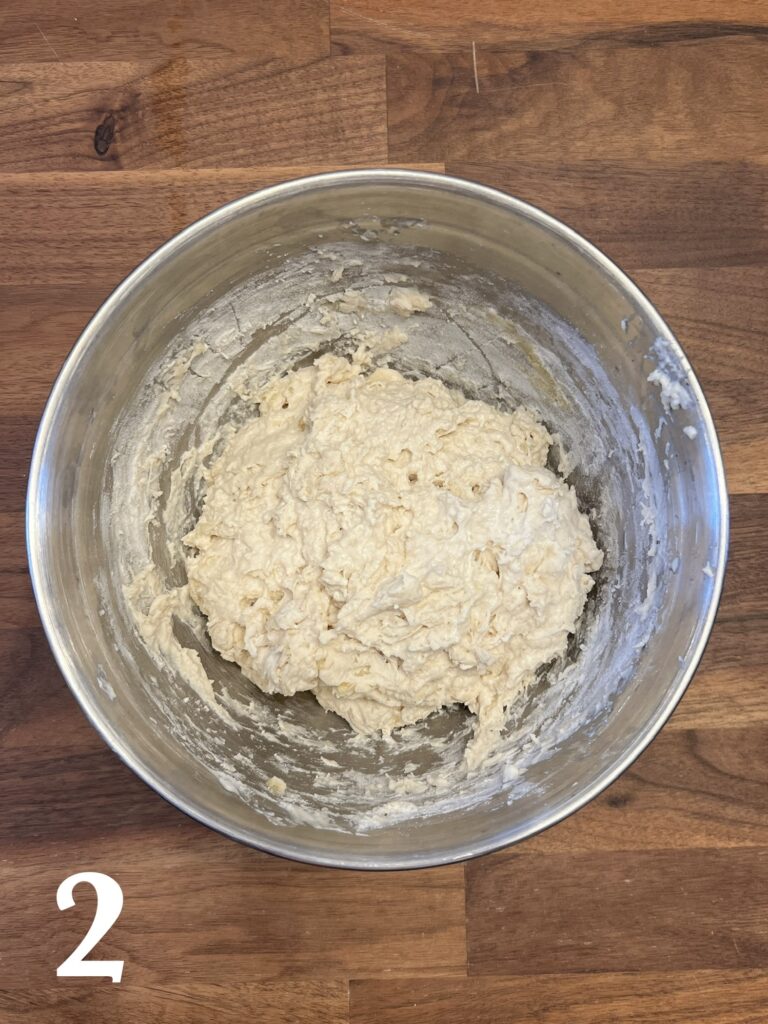
In a large bowl, you’ll add the sugar, yeast, and then the warm water. Wait 5 minutes for it to bloom, in doing so you are insuring that your yeast is active. You want your water around 110 degrees Fahrenheit. If it’s any hotter, it may kill the yeast. If it’s quite a bit cooler, it will take longer to proof and may not dissolve the yeast. Then you will add the olive oil, flour, and salt to the yeast mixture, mix to combine, then let it rest covered for 15 minutes.
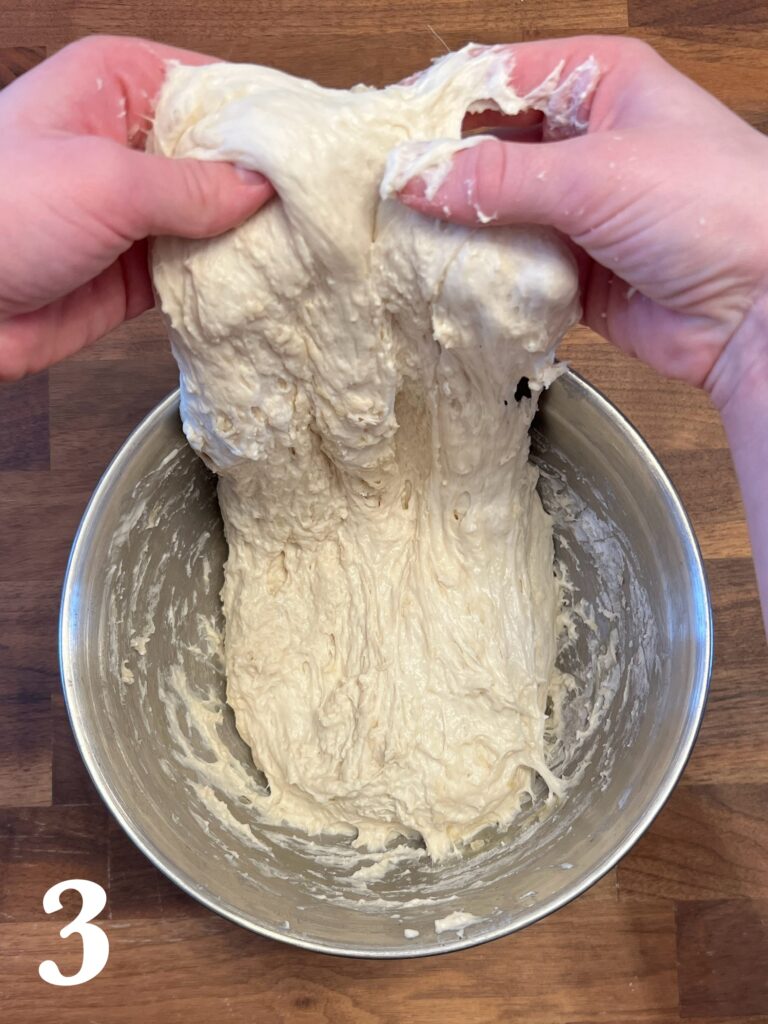
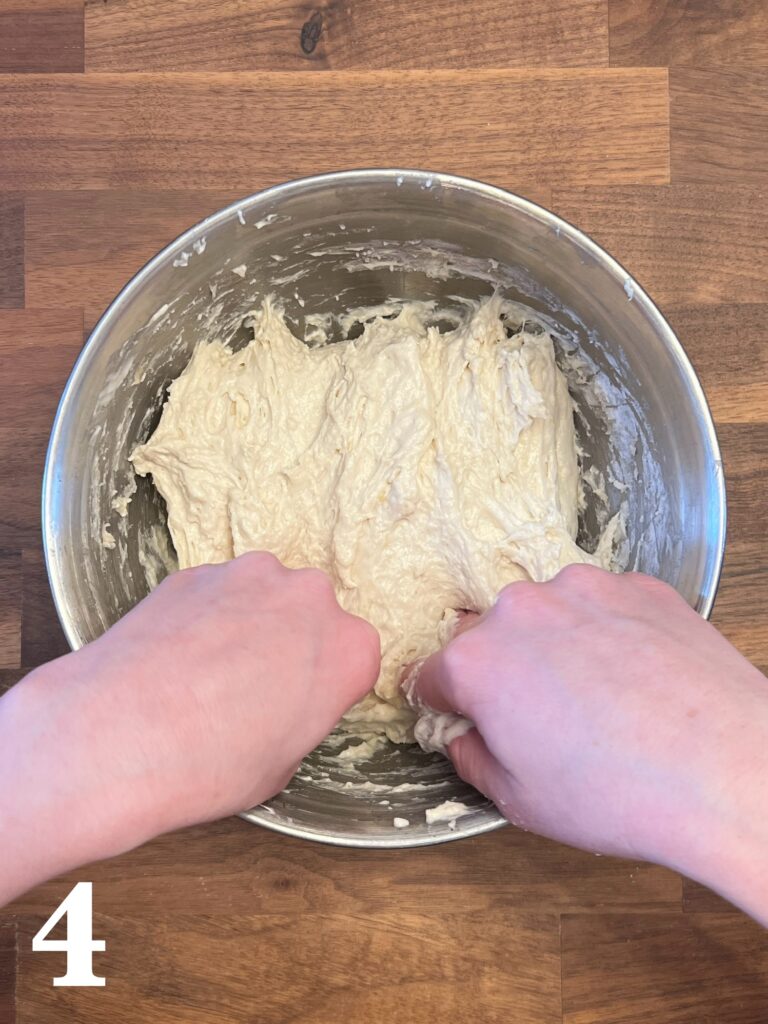
After 15 minutes of resting, your dough will have ~slightly~ risen. Focaccia dough is fairly wet. So if it seems too sticky, you’re doing great! The next step is to do 5 stretch and folds as demonstrated in the pictures above. You will take the back end of the dough, lift up, and fold it in on itself. Then you will rotate the bowl 90 degrees clockwise and continue the cycle of stretch, fold, rotate. Then let it rest covered for 15 more minutes.
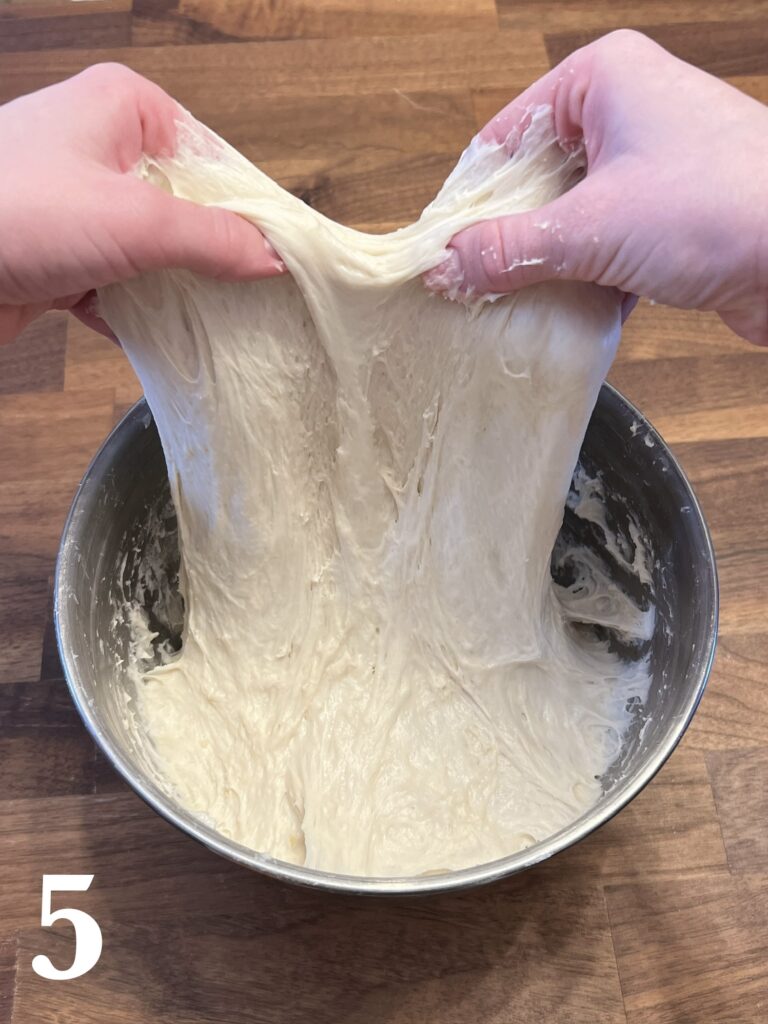
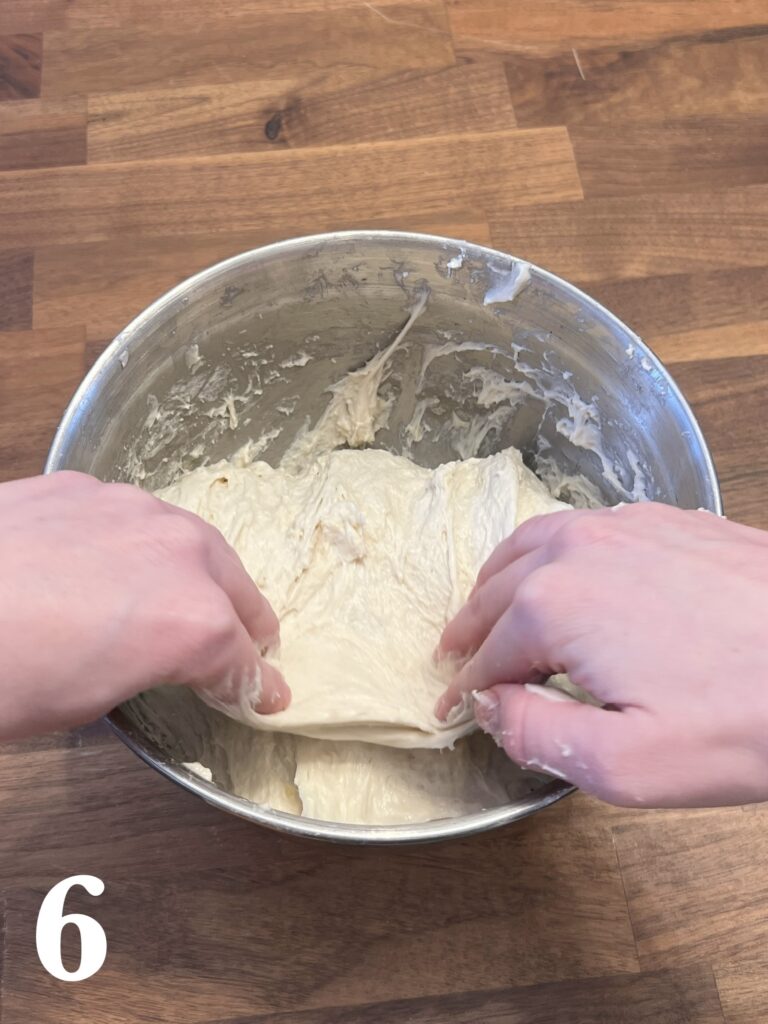
After the 15 minutes, you will do 3 more stretch and folds. As you can see, the dough is transforming and starting to gain elastically. That is thanks to the stretch and folds which aids to the gluten development. After your 3 stretch and folds, cover your dough and let rest for 1.5 hours. After an hour and a half, your dough will have doubled in size.


Next you will oil a 1/4 sheet pan. I am using an aluminum pan. If you use glass or a dark non stick pan the baking times may be different. Then place parchment paper down and oil the parchment paper. Dump your dough on the pan, drizzle oil on the dough, then stretch your dough to try to cover your pan. Cover with plastic wrap and rest for 1.5 hours.
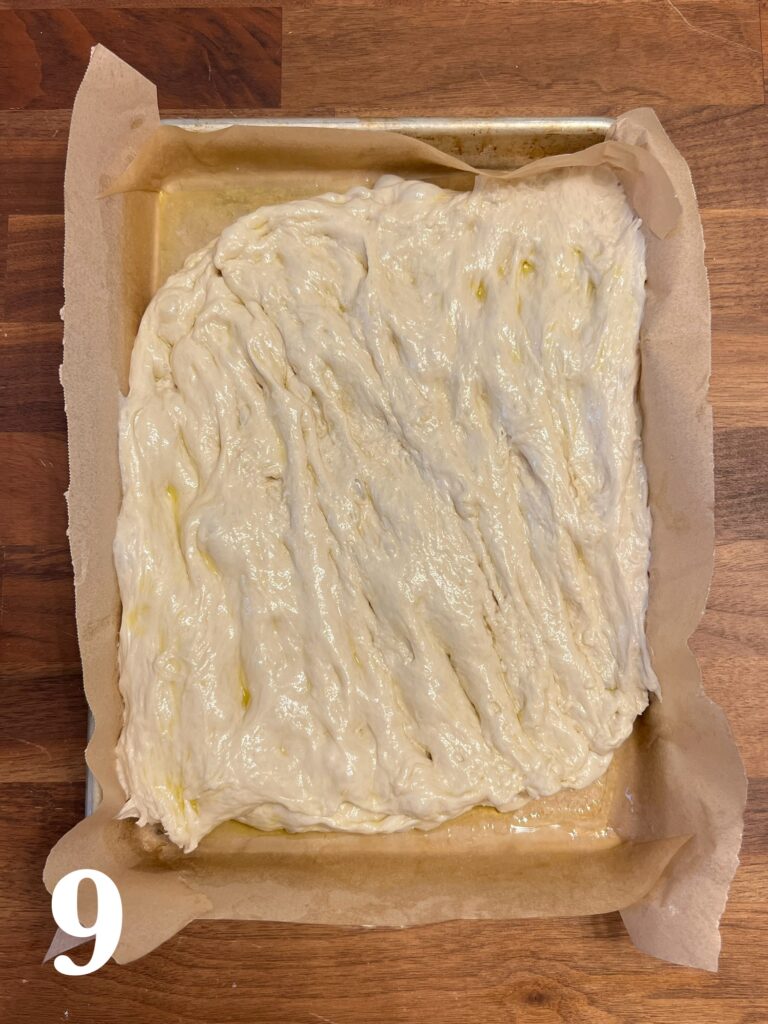
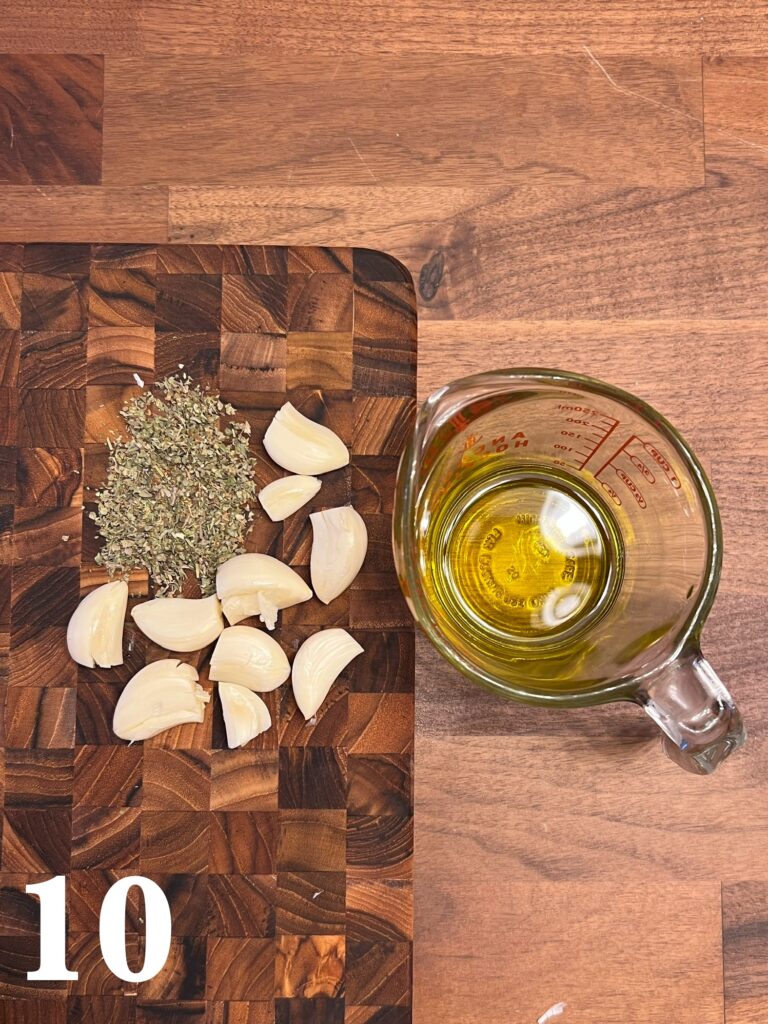
Your dough may not completely touch the sides of the pan and that is OK. During the final proof, the dough will fill out the pan. During the final proof, make your crushed garlic and herb infused olive oil. I recommend keeping your garlic is large-ish pieces so they do not burn when baking.
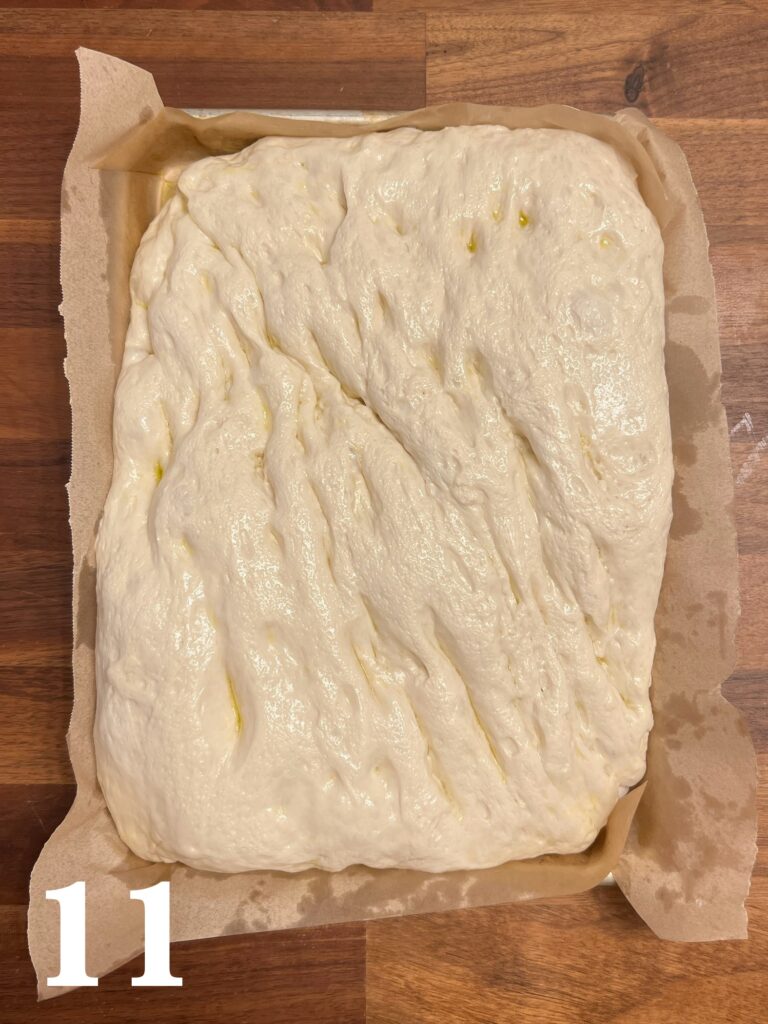
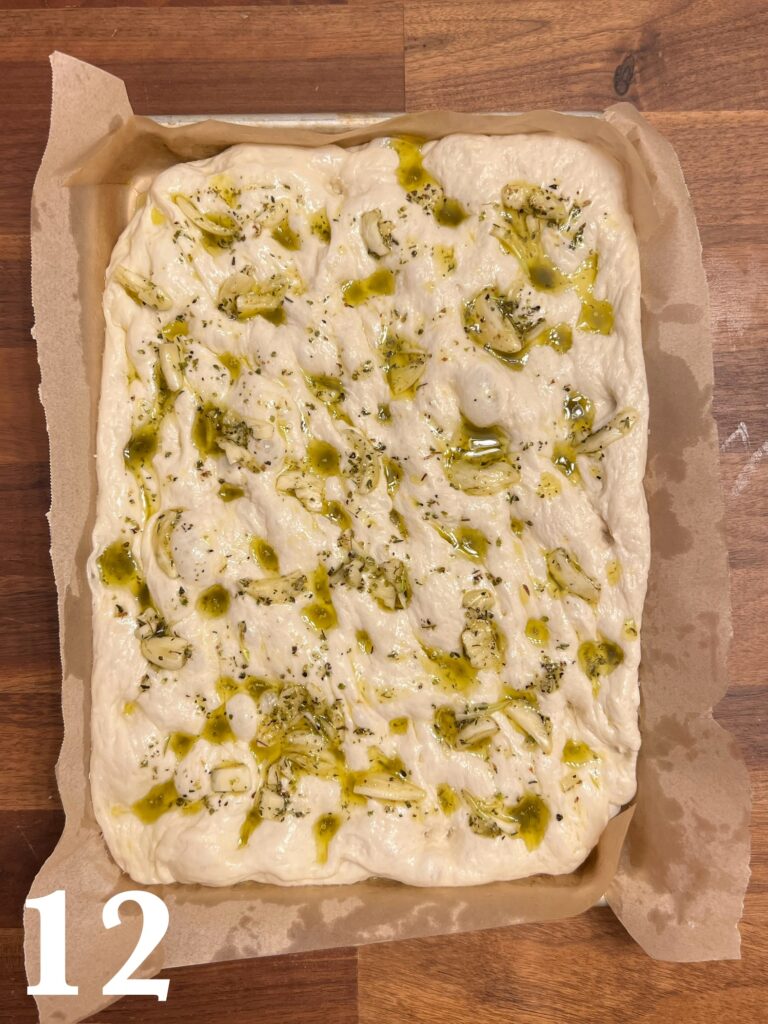
Now it’s time for the fun part. The dimpling! After the final proof, oil your fingertips and poke around the dough! This will create little pockets of flavor for the olive oil, garlic, and herbs. Dimpling the dough also expels some air so your focaccia doesn’t rise too much. After you’ve dimpled your dough, place the crushed garlic (from the infused olive oil) evenly across the dough. Then drizzle the olive oil and herbs across the dough THEN sprinkle kosher salt over the dough evenly. Bake at 425 degrees Fahrenheit for 30-35 minutes.
Check out more recipes here.


Same Day Garlic and Herb Focaccia Recipe
Description
Ingredients
Dough
Toppings
Instructions
-
Mix the yeast and sugar in a large bowl. Then add the warm water and stir. Let sit for 5 minutes to bloom.
-
Then add in 1 tbsp of olive oil and stir. Add the flour and salt and mix to combine. Let the dough rest for 15 minutes.
-
Do 5 stretch and folds then cover for 15 minutes to rest. Do 3 more stretch and folds. Then cover the bowl and rest for 1.5 hours.
-
Oil a pan with 1 tbsp of Olive Oil. Then put parchment paper on the pan and oil the parchment paper with 1 tbsp of Olive oil. Spread the dough across the pan, drizzle with a tbsp of olive oil, then cover with plastic wrap. Let rest for another hour and a half.
-
While the dough is resting, make the garlic and herb infused olive oil. Crush the cloves of garlic and add to the oil. Then add the Italian herb seasoning. Let the mixture sit at room temperature until it's time to top the dough.
-
Remove the plastic wrap. Use your fingers to put dimples in the dough. Place the crushed garlic, from the infused olive oil, evenly across the dough. Then drizzle the olive oil and herbs across the dough and sprinkle it with the kosher salt. Bake @425 degrees Fahrenheit for 30-35 minutes.
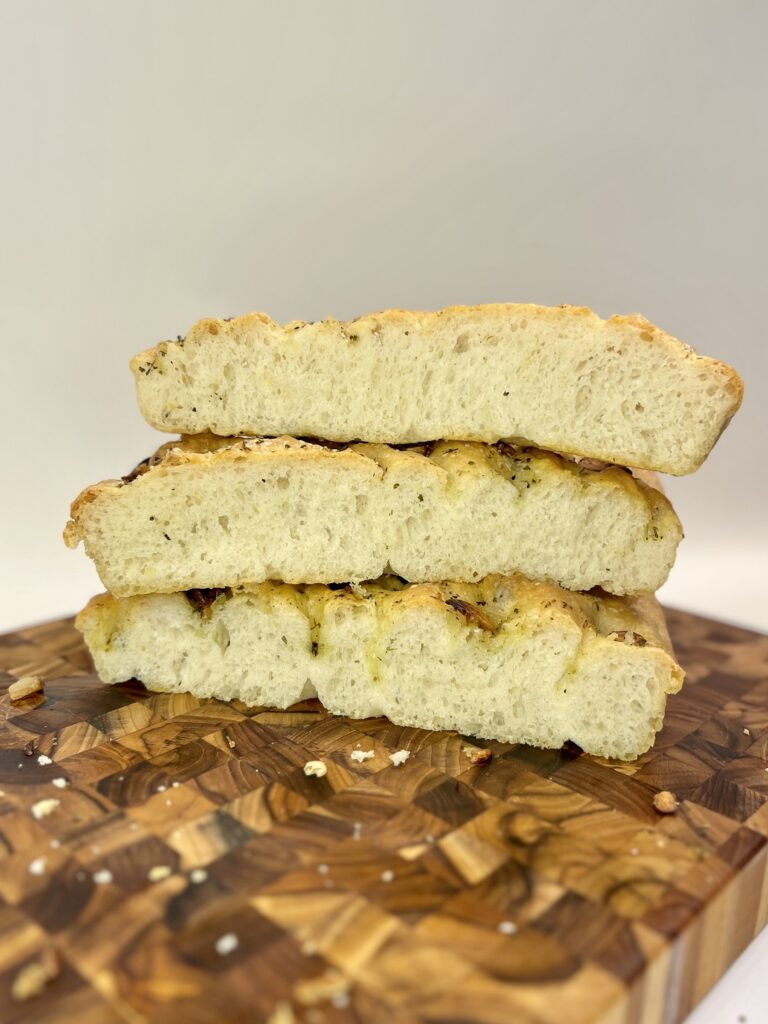
So good! This recipe is going to be my new go to for focaccia!
Yum!
This recipe was very delicious and incredibly easy. I love how the blog included photos of each step to show exactly what to do and how the dough should look as I followed along. The entire family loved it. I suggest if you are wanting it for a certain meal/occasion to either not make it ahead of time or double it. It’s so delicious we couldn’t stop eating it and half of it was gone before dinner.